Learn where and how to export data of your study.
TABLE OF CONTENTS
1. Export Overview
To begin exporting data, navigate to the subject overview where you'll find several export options available in the "Data export" module.
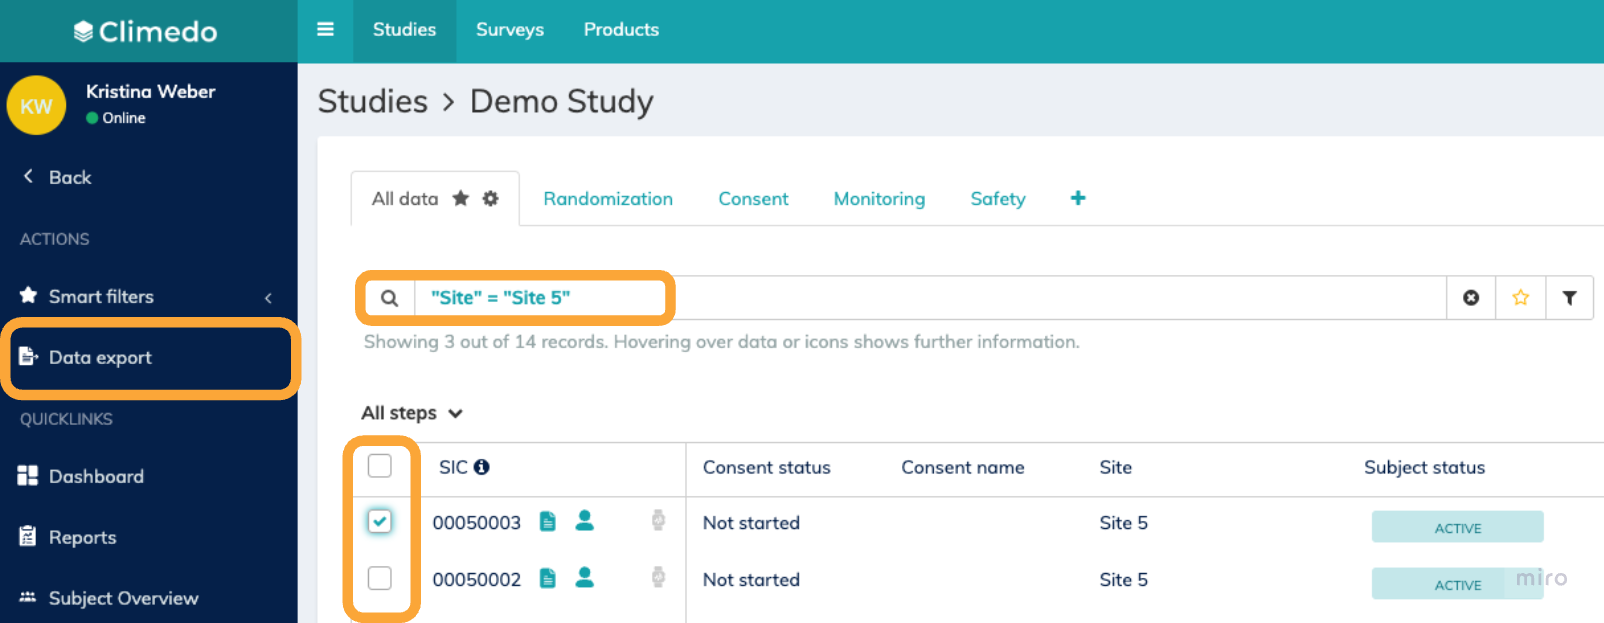
Option 1: General Data Export Click the "Data export" button in the left sidebar from anywhere within the study. A pop-up window will appear where you can select the specific data you want to export. Option 2: Pre-selected Subject Export In the subject or (S)AE overview, select the subjects or (S)AEs you want to export by checking the boxes next to their SIC numbers. Then click "Data export" in the left sidebar. The pop-up window will automatically be pre-filled with your selected subjects. Option 3: Filtered Data Export When you have active filters applied in the search bar of the subject overview, clicking "Data export" will only download data for subjects that match your current filter criteria. This applies to both scheduled events data and consent data. Option 4: Context-based Export The export scope will be automatically pre-filled based on your current location in the system. For example, if you're viewing a specific subject's eCRF, the export will default to that single subject. |
⚠️ Important: Always verify your export selection in the pop-up window before proceeding to ensure you're downloading the correct data set. |
2. Export Module Details

 | Type of Data: First, select the type of data you want to export.
| |
 | SICs: If you have chosen to export subject-specific data, you can select which subjects to include using the SICs dropdown menu. Choose from all subjects, multiple specific subjects, or a single subject as needed. | |
 | Data to export and data format: Now choose the data you want to export and the desired data format. Depending on the selected data, the options of data format will adapt respectively. The following data is available for subject-specific export:
| |
When selecting CSV format, you can also specify your preferred file delimiter.
|  | |
When exporting as PDF, you can choose whether to include empty/unfilled fields of the input forms or display only completed fields. |  | |
XLSX format provides additional customization features:
|  | |

⭐ Consolidated tabs: Input forms that appear in multiple workflow steps (e.g., "Health Status" used in both Visit 2 and Visit 3) are combined into a single Excel sheet or CSV file, rather than creating separate tabs for each occurrence. e.g. XLSX:
⭐ Unconsolidated tabs: Each input form instance is exported to a separate Excel sheet or CSV file. For example, if "Health Status" appears in multiple workflow steps, each occurrence will create its own individual sheet/file (e.g., "Visite 2.1-Health Status", "Visite 3.1-Health Status"). e.g. XLSX |

To complete the export, click the button in the bottom right corner  .
.
The file download will begin automatically once processing is finished. Export time varies depending on the amount of data selected.
⭐ Good to know: The system automatically determines the download method based on the data selected. You'll either receive the file directly in your browser or via an email download link. ⚠️ Important: Email download links automatically expire after 24 hours for security purposes. Make sure to download your file within this timeframe. |
⭐️ More advanced exports like custom field exports or aggregated subject reports are available in the new Reports Module: How to configure and use reports |
⭐ There are more download options available, see respective article: |
Videos
How to export as needed
Depending on your permissions, you can export various data captured in our system. Note that the available export options are individually adapted based on your user and role settings. In this video, we will show you all possible variations. This is a longer video than usual but totally worth watching ;)
How to export the subject audit trail
To ensure GCP compliance, customers can use the Subject Audit Trail to track all input and data changes. In this videos, we will show you how to find and export the Audit Trail. Please note that you need specific role permissions to view and export it.
✉️ Still have questions? Feel free to contact your Customer Success Manager or email us at support@climedo.de. |
Was this article helpful?
That’s Great!
Thank you for your feedback
Sorry! We couldn't be helpful
Thank you for your feedback
Feedback sent
We appreciate your effort and will try to fix the article